

Some of the best things in life come for free. It’s always a good call if a service you’re interested in has the option to try it for free. And luckily for you, that’s also how pCloud works. That’s right! Getting a Basic pCloud plan with up to 10 GB of storage is absolutely free and super easy to do. We want to make it even easier for you to enjoy your free pCloud account. Here are the coolest must-try features if you’re on a free Basic plan:
Set up your storage space
The first thing to do after you’ve created a pCloud account is to set up the space you’ll need. Your account comes with 10 GB free storage space. You’ll need to follow our beginner’s tutorial to unlock all this storage:
- The first step will be to verify your email address. This automatically verifies your account and unlocks file sharing for you.
- As a next step, you can upload your first file. Every file you upload will be available from then on all your devices thanks to your pCloud account.
- To be able to access and work on files from your computer without taking HDD space, you can download and install pCloud Drive, which is our desktop application. If you do that, you will be 1 GB closer to unlocking all of your free space.
- For your mobile devices, you will need pCloud’s mobile apps. Install pCloud for Android or iOS and log in to your account. Just by doing that you will unlock further free space.
- From your mobile pCloud app you can turn on the Automatic Upload feature from the Settings menu. We highly suggest you do that. Not only you will get 1 GB more free space, but this will also back up all your photos and videos, so you could have more free space for great memories on your phone.
- And last, but not least you can invite your friends and family members to join pCloud. Each successful invitation will bring you 1 GB. Now what do we mean by successful invitation: Only invited users with verified emails count as a successful invite. Another great news is that by inviting friends you can enter our challenge and win a Premium Lifetime pCloud Account! Find out more about how to get 500 GB for free here!
Customized Download Links
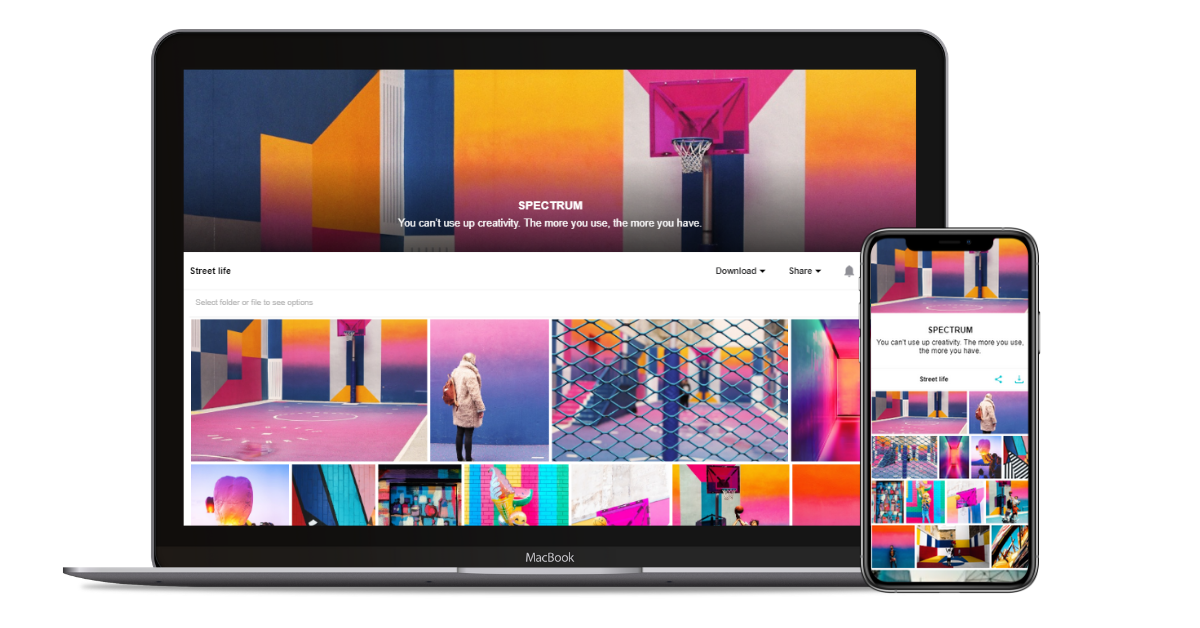
One of the most exciting features we launched last year is the branding of Download links. A Download Link is the easiest way to share large files with someone. Branding adds a personal touch to the shared content. It gives you the unique opporunity to show your content in the best possible light. Like pretty much all nice and useful pCloud features, we haven’t reserved this one only for Premium users. So if you are on a Basic plan, you can take advantage of this feature too by creating a single Branded link! It takes less than a minute to personalize the link you share. Just follow these steps:
- Generate a Download link
- Click “Activate branding”
A new tab will open with a live preview of your Download link, and the option to personalize it by adding a cover, title image, headline, and description. It’s a fun way to share your vacation photos with friends and family or to impress your coworkers or future employer by sharing business information or your portfolio. If you need some inspiration and want to learn more about making a visually pleasing personalized Download link, check out this blog post!
File Revisions and pCloud Rewind
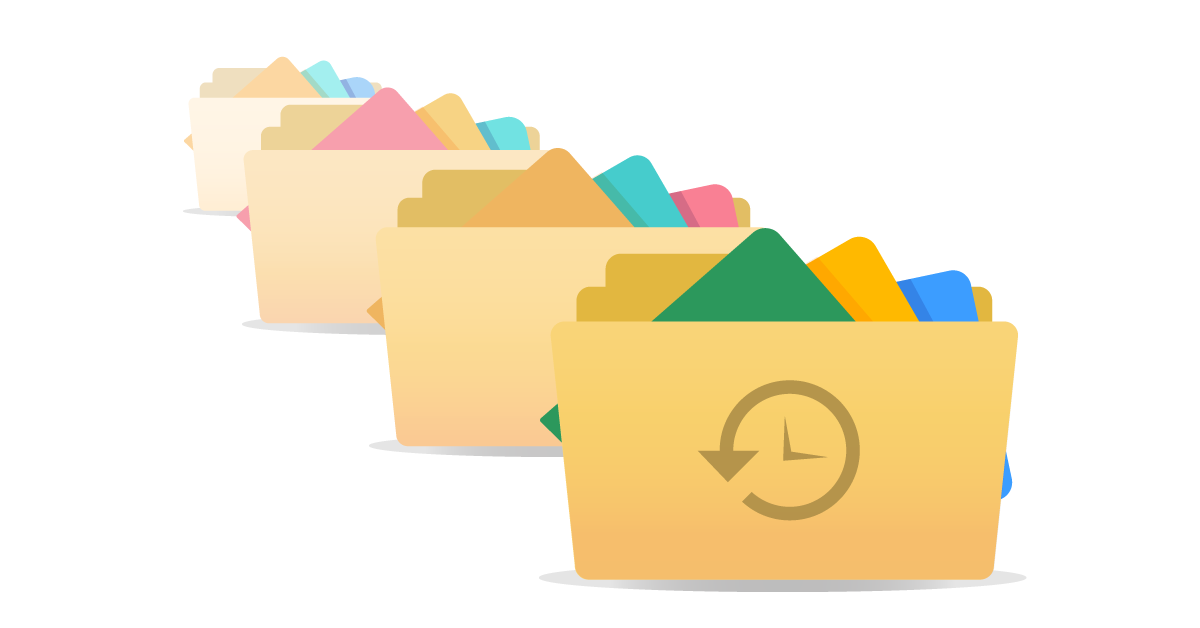
Even the most organized person in the world knows the pain of accidentally deleting an important file or losing a great idea due to reworking it many times. Probably that’s the reason they got that organized in the first place. Now, don’t worry! There’s no need to up your organization level overnight. It’s a process, we get that. Meanwhile, you have the option to preview and restore an older version of your files for the last 15 days with File Revisions. Here’s how you do that:
- Open my.pcloud.com
- Click on the More options menu
- Choose Revisions
Now you can see the older versions of your file and choose a further action such as download or preview.
There is another option, that you have on hand – pCloud Rewind. It’s like a time machine for your ideas in pCloud. Rewind provides a preview of your whole account from a certain point in the past. If you’re on a Basic plan – you can browse all changes up to 15 days in the past. Rewinding your pCloud account is easy and only takes 3 simple steps:
- Open my.pCloud from your browser
- Open Rewind, choose a time and date (up to 15 days in the past)
- … aaaand Rewind!
After you do that, you will see a list of all the files that were changed during your period of choice. However, you won’t be able to restore or download any of the previous versions of your files, unless you upgrade to Premium. But still, you can use Revisions to do so for a single file of your choice.
pCloud Drive – a virtual drive for your computer
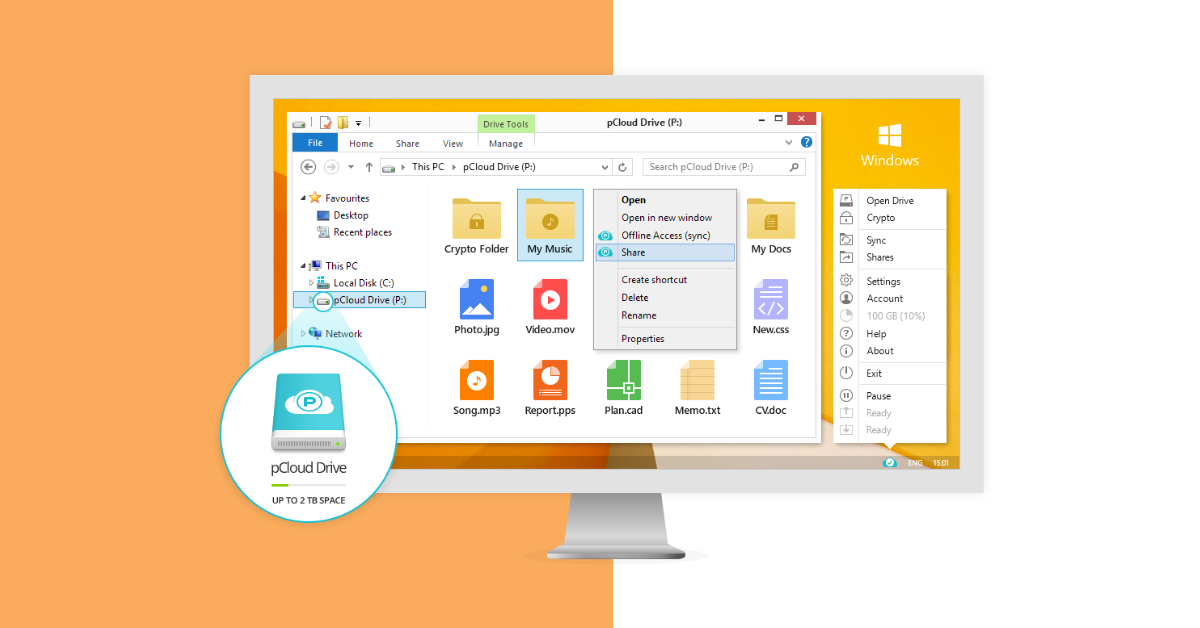
No need to get rid of those funny selfies you once made while you were bored. Save them for your grandchildren! They sure will have a good laugh one day. Our desktop app for Windows, Mac, and Linux is like a local drive that lets you store and use your files in the cloud directly through your computer. The only difference is that it does not take any physical space on your PC. Remember you downloaded it to get more free space? If you still don’t use it daily, you should start now! To add files and folders to your pCloud Drive and be sure that they are safely stored in the cloud and available on all of your devices, you can either drag and drop your data into your virtual drive or add it with copy & paste commands. The app significantly eases your work upon performing file operations in the cloud, because with pCloud Drive you can work with your files using any software on your computer.
Another perk of using pCloud Drive is that it performs real-time synchronization between the pCloud web platform and your device. To find out more how to best upload files to your pCloud Drive and use the Sync option, we strongly advise you to read this blog post!
There you have it! Those are some of the coolest pCloud features and you can use them FOR FREE!